
Most people who search for pallet racking installation already know roughly what they need. They’ve got a warehouse, some pallets to store, and a rough idea of how much space they’ve got to work with. What’s less clear, usually, is what actually happens between getting a quote and having a working system in place.
That gap matters more than it might seem. A pallet racking installation isn’t just steel going up in rows. It’s a structural project with real safety and compliance implications, and the quality of the survey and design work that happens before anything is bolted together is what determines whether the finished system actually works for your operation, or quietly causes problems for years afterwards.
This post walks through our process from first enquiry to completed installation, so you know what to expect and what a proper installation should include, whoever you end up using.
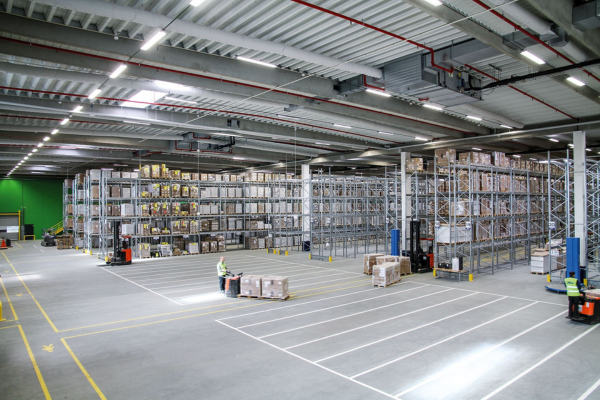
Why the Process Matters More Than the Steel
It’s tempting to think of pallet racking installation as a simple job: measure the space, order the components, put them up. In practice, the racking itself is usually the easy part. The decisions that make or break a system happen before a single upright goes in the ground.
Get the load capacity wrong and you either overspend on steel you didn’t need, or end up with a system that can’t safely hold what you’re putting on it. Get the aisle widths wrong and your forklifts can’t manoeuvre efficiently, or at all. Get the beam levels wrong and you waste vertical space you’re paying for in rent or mortgage. None of these mistakes are easy to fix once the racking is installed and loaded, which is exactly why the survey and design stages deserve as much attention as the installation itself.
If you’re still weighing up whether pallet racking is the right storage solution at all, our complete guide to pallet racking covers the main system types and where each one fits, and our comparison of warehouse shelving versus pallet racking is worth reading if you’re not yet sure racking is the answer rather than hand-loaded shelving.
Step 1: Initial Enquiry and Scoping Call
Every project starts with a conversation, not a quote. Before we can give you anything meaningful, we need to understand what you’re actually storing and how you work. This usually covers:
- What you’re storing: pallet sizes, weights, and whether loads are uniform or highly variable
- How goods move: forklift type, whether you’re using counterbalance or reach trucks, and your typical throughput
- Building constraints: ceiling height, floor condition, column positions, sprinkler layout, and any existing structures
- Growth plans: whether the system needs room to expand, or needs to be reconfigurable as stock changes
This step exists because pallet racking priced and specified without this information is a guess dressed up as a quote. A number given before anyone understands your building or your stock is not something you should be comparing against a properly scoped quote later.
Step 2: Site Survey
This is where assumptions get tested against reality. A site survey typically covers:
- Accurate building dimensions, including any structural obstructions, doors, and existing installations
- Floor condition assessment, since pallet racking places significant point loads through the uprights, and a weak or uneven slab changes what’s possible
- Ceiling height and clearance, accounting for sprinklers, lighting, and any overhead services that reduce usable height
- Column grid and building structure, so the racking layout works around the building rather than fighting it
- Access routes, confirming how racking components will actually get into the building and where forklifts will operate
A proper survey isn’t a quick walk-through with a tape measure. It’s the stage that catches the problems that would otherwise show up during installation, when they’re far more expensive to fix.
Step 3: Load and Capacity Calculations
Once we know the building, we look at what the racking actually needs to carry. This includes:
- Unit load weight, meaning the maximum weight of a single loaded pallet at any given level
- Beam level capacity, since load ratings vary depending on beam length, upright spacing, and the number of levels in a bay
- Frame and upright capacity, calculated against the full column of loads it will carry, not just a single level
- Seismic and dynamic loading, where relevant, particularly for taller or narrow-aisle systems
- Floor loading, confirming the slab can take the point loads the racking will transfer to it
This is also where we confirm which racking type actually suits your operation. Selective pallet racking suits businesses needing direct access to every pallet. Drive-in or drive-through systems suit high-density storage of uniform stock where direct access to every position matters less. Push-back and pallet live racking suit higher throughput operations. Our pallet racking cost guide breaks down how these different systems compare on price, which is often driven as much by engineering complexity as by raw material.
Step 4: Layout Design and CAD Drawings
With the building surveyed and loads calculated, we produce a proposed layout, typically as CAD drawings showing:
- Bay layout and orientation, positioned against the actual building dimensions rather than a generic template
- Aisle widths, matched to your specific forklift or reach truck turning circle, not a standard assumption
- Beam levels and pallet positions per bay, maximising usable height within your ceiling clearance
- Access points and traffic flow, so racking doesn’t create bottlenecks or unsafe crossing points between pedestrians and forklifts
- Safety features, including upright protectors, barriers, and any required signage positions
This is the stage where the actual capacity of the finished system becomes clear, in terms of pallet positions rather than square metres, which is the number that actually matters to your operation.
Step 5: Compliance and Safety Specification
Pallet racking in the UK sits under real regulatory expectations, not just good practice suggestions. At the specification stage, we confirm:
- Load notices, clearly displaying the safe working load for each bay and level, as required
- SEMA-compliant design, following the standards set by the Storage Equipment Manufacturers Association
- Upright protection, particularly in aisles with forklift traffic, since impact damage is one of the most common causes of racking failure
- Compliance with BS EN 15635, the standard covering the use and maintenance of static steel storage systems
The HSE’s guidance in HSG76 sets out expectations for ongoing inspection once a system is in use, but the specification stage is where the groundwork for safe long-term operation is laid. A system designed properly from the outset is far easier to keep compliant than one where safety features get added as an afterthought.
Step 6: Delivery and Installation
Once the design is signed off, installation itself typically follows this sequence:
- Delivery and site preparation, coordinating delivery times around your ongoing warehouse operations to minimise disruption
- Setting out, marking bay positions accurately against the approved layout before any steelwork goes up
- Upright and frame erection, anchoring frames to the floor to the specified fixing standard
- Beam installation, connecting beams to uprights at the designed levels, torqued and checked against specification
- Safety accessories, fitting upright protectors, barriers, and signage as designed
- Final checks, confirming the completed structure matches the approved drawings and is stable and level throughout
Our installation teams work to minimise disruption to live warehouse operations wherever possible, which often means phased installation, out-of-hours working, or sectioning off areas of an active site rather than requiring a full shutdown.
Step 7: Handover, Certification and Aftercare
Installation isn’t finished when the last beam goes in. A proper handover includes:
- Load notices fitted and visible, confirming the safe working load for every bay and level
- As-built drawings, reflecting anything that changed on site from the original design
- Handover documentation, including any relevant certification for the installed components
- Guidance on ongoing inspection requirements, since HSE guidance expects weekly visual checks by trained staff and a thorough annual inspection by a competent person, typically a SEMA Approved Racking Inspector
Getting this stage right matters beyond the paperwork. Racking that isn’t properly inspected and maintained is one of the most common causes of serious warehouse incidents, and HSE enforcement in this area is not lenient. Our guide to improving warehouse efficiency covers ongoing safety responsibilities in more detail, including appointing a Person Responsible for Racking Safety.
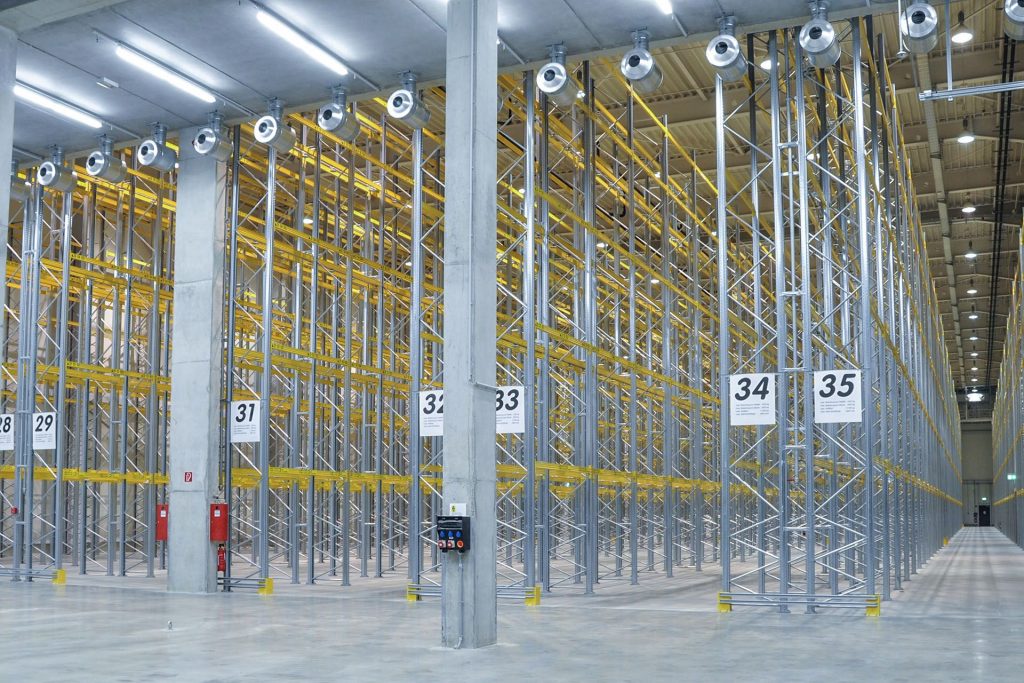
What Can Go Wrong Without This Process?
What Can Go Wrong Without This Process
Skipping or rushing any of the stages above tends to produce the same handful of problems, repeatedly:
- Undersized aisles, forcing forklifts to work slowly or unsafely because the layout wasn’t checked against actual turning circles
- Underspecified load capacity, discovered only when a beam is loaded beyond what it was actually designed for
- Wasted vertical space, because beam levels weren’t optimised against the real ceiling height and clearance
- Non-compliant installations, missing load notices, protection, or documentation that becomes a liability the first time an inspector or insurer looks closely
- Floor loading issues, where a slab wasn’t checked and begins to show cracking or movement under sustained point loads
Every one of these is expensive to fix after installation and straightforward to avoid with a proper survey and design process beforehand.
Supply Only or Fully Installed: Which Do You Need?
Not every business wants or needs a fully installed service. We offer both:
- Supply-only, where we design the system and supply certified components, and your own team or a chosen contractor handles installation
- Fully installed, where our own qualified teams handle the complete process from survey through to handover
Businesses with in-house installation capability and existing relationships with contractors often prefer supply-only, provided the design and load calculations are done properly upfront. Businesses without that capacity, or those wanting a single point of accountability for the whole project, generally prefer the fully installed route. Either way, the survey, load calculation and design stages matter just as much, since a badly designed system installed perfectly is still a badly designed system.
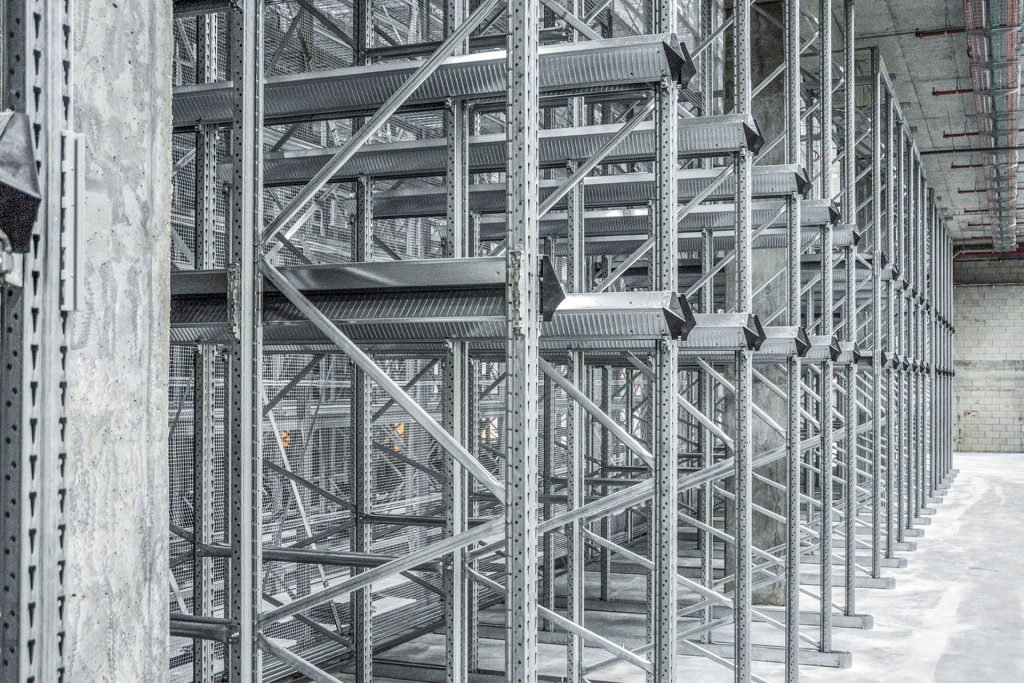
Combining Pallet Racking With Other Storage
Most warehouses don’t run on pallet racking alone. It’s common to combine racking for bulk, forklift-loaded stock with hand-loaded storage for smaller items, spares, or pick-face stock. If that’s relevant to your operation, our warehouse shelving and long span shelving pages cover the systems we design and install alongside pallet racking, often using the same CAD layout process so the two systems work together rather than competing for floor space.
Timescales: What to Actually Expect
One of the most common questions we get is simply how long the process takes, from first enquiry to a working system. It varies with project size and complexity, but a rough shape looks like this:
- Scoping call and initial quote: same day to a few days, depending on how quickly we can get the right information from you
- Site survey: usually arranged within a week or two of the initial enquiry, and completed in a single visit for most warehouses
- Design and CAD layout: typically one to two weeks, longer for larger or more complex sites with multiple racking types or phased installation
- Component lead time: this varies most, since standard selective racking components are often available quickly, while specialised systems such as mobile or pallet live racking can take longer to manufacture
- Installation: ranges from a day or two for a small run of bays to several weeks for a large, multi-phase warehouse fit-out
The single biggest factor in how quickly a project moves is how quickly the early stages are properly completed. A rushed survey or an incomplete brief tends to cost more time later, in the form of design revisions or on-site changes, than it saves at the start.
Working Around a Live Warehouse
Very few businesses can afford to shut down entirely while racking goes in, and most of our installations happen in warehouses that are still operating. This affects how the installation stage is planned:
- Phased installation, working through one section or aisle at a time so the rest of the warehouse stays operational
- Out-of-hours or weekend working, where disruption to daytime operations needs to be kept to a minimum
- Temporary storage arrangements, if existing stock needs to be relocated while a section is being reconfigured
- Clear demarcation, keeping installation areas separated from live forklift and pedestrian routes for safety
This is worth raising early, ideally at the scoping call stage, since it can affect both the installation programme and, in some cases, the sequence in which different areas of the warehouse are tackled.
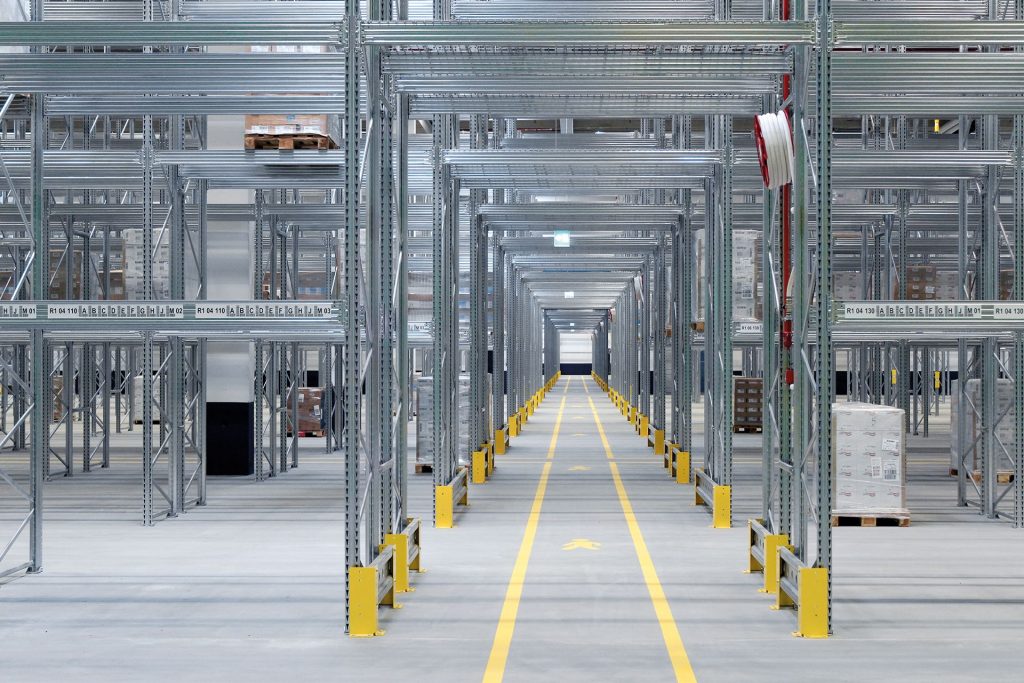
Getting Started
If you’re planning a pallet racking installation, the most useful thing you can do first is get the basics in front of us: what you’re storing, roughly how much space you have, and how your forklifts operate. From there, we can arrange a free site survey and start the design process properly, rather than working from assumptions that get corrected later at a higher cost.
Whether you need a supply-only order or a fully installed system, get in touch with our team, request a free quote online, or call us on 0115 939 7572. If you already have a quote from elsewhere, send it over and we’ll see if we can beat it.