Most shelving orders start with the wrong measurement. Someone measures the wall, divides by a bay width and orders enough bays to fill the space. It feels logical, but it tells you how much shelving will fit, not how much you need. The two are rarely the same, and the gap between them shows up later as half-empty shelves, stock stacked on the floor, or a second order six months after the first.
The better way to answer “how much shelving do I need?” is to start with the stock and work outwards: from item sizes to shelf level spacing, from shelf levels to bays, and from bays to run lengths. This guide walks through that method step by step, with a worked example, and finishes with the spare capacity you should build in for growth.
One note on scope. This guide is about sizing shelving bays and runs. If you are trying to work out the total storage capacity of your whole building, including pallet racking and floor space, The Mezzanine Company’s guide to calculating warehouse storage capacity covers that bigger picture.
Step 1: Build a stock profile
Everything else depends on this step, so it is worth doing properly. A stock profile is simply a list of what you need to store, grouped into families of similar size and weight.
For each product line, you need four pieces of information: the size of the unit you actually put on the shelf (an item, a carton or a bin), how much it weighs when full, how many of those units you hold at peak stock, and how often it is picked. The peak figure matters. If you size shelving around average stock levels, you will run out of space every time a big delivery lands or a seasonal line builds up.
Once you have the list, group products into families. Small parts in bins might form one family, medium cartons another, and long or bulky items a third. Each family will usually end up with a different shelf depth, level spacing and even bay width, so trying to size everything at once almost always leads to wasted space.
If you are not sure what type of shelving each family needs, our guide on how to choose warehouse shelving is a good starting point. And if some of your stock arrives and stays on pallets, it may belong in racking rather than on shelves, which our comparison of warehouse shelving vs pallet racking explains.
Step 2: Choose the shelf depth
Shelf depth should follow the depth of the unit you are storing, not the other way round. A shelf that is too shallow leaves cartons overhanging the front, which is a safety risk. A shelf that is too deep wastes space and pushes stock to the back, where it gets forgotten.
As a rule, pick the depth that is closest to your unit depth without being shorter than it. Unirack shelving is available in depths from 320mm to 800mm, so there is usually a close match for bins, cartons and totes. If one family has two very different unit depths, it is often better to split it across two depths of shelving than to compromise on one.

Step 3: Work out shelf level spacing
Shelf level spacing (the vertical gap from one shelf to the next) decides how many levels you can fit in each bay, so small savings here add up quickly.
Start with the height of the tallest unit in the family, then add a handling clearance so people can lift items on and off without catching the shelf above. For hand picking, a clearance of around 75mm to 100mm is a sensible starting point. Heavier cartons, or items that need to be tilted to lift out, need more.
Then round up to the adjustment increment of your shelving. Unirack shelves adjust in 50mm steps, so a unit that needs 275mm of height would sit on a 300mm pitch.
Level spacing = tallest unit height + handling clearance, rounded up to the next 50mm
Finally, think about the height range people can reach. For fast-moving stock that is picked by hand, keep the working levels between knee and shoulder height where you can. Higher levels are fine for slower lines and overstock, as long as safe access equipment is provided.
Step 4: Decide how many levels per bay
Once you know the spacing, the number of levels is straightforward. Take the usable height of the bay (frame height, less the space below the bottom shelf and above the top one) and divide it by the level spacing.
Levels per bay = usable bay height ÷ level spacing, rounded down
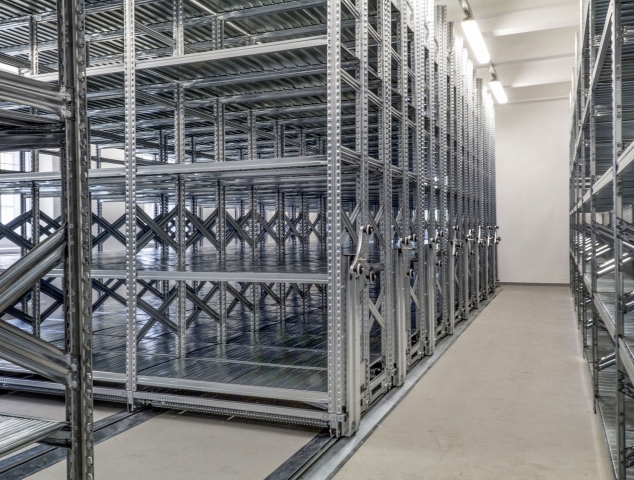
Frame heights on Unirack systems run from 2,000mm up to 8,000mm, but for a single tier of hand-picked shelving, around 2,000mm to 2,500mm is typical. If you have plenty of clear height in the building, adding a second tier with a walkway can double the storage on the same footprint. Our page on two-tier shelving explains how that works.
Step 5: Choose the bay width and count locations
Bay width decides how many units sit side by side on each level. Unirack bays are available in widths of 900mm, 1,200mm, 1,500mm and 1,800mm, and the right choice depends on two things: how neatly your units divide into the width, and how much weight each shelf has to carry.
For the first part, divide the bay width by the width of one unit plus a small gap for handling, and round down.
Units per level = bay width ÷ (unit width + handling gap), rounded down
Try each bay width and see which wastes the least space. A 400mm carton, for example, fits three to a 1,200mm shelf with no room to spare, but four to an 1,800mm shelf with a comfortable margin.
For the second part, remember that longer shelves carry less weight. Multiply the number of units per level by their full weight and check the result against the shelf load rating for that bay width. Then multiply by the number of levels and check the total against the frame capacity. If either is exceeded, you need a heavier duty beam, a narrower bay or fewer levels. For heavier, bulkier items, long span shelving may be a better fit.
With widths and levels settled, you can work out how many storage locations one bay gives you.
Locations per bay = units per level × levels per bay
Step 6: Calculate the number of bays
This is the step that answers the question most people start with.
Bays needed = peak units to store ÷ locations per bay, rounded up
Do this separately for each stock family, then add the results together. It is also worth checking whether every product line needs its own location. If you store one SKU per bin, the number of SKUs is your unit count. If you store several cartons of the same line side by side, count the cartons.
These formulas are all you need to build your own simple shelving bay calculator in a spreadsheet. List each family in a row, enter its unit sizes, weights and peak quantities, and let the formulas work out levels, locations and bays. It takes an hour to set up and makes it easy to test different bay widths and depths before you commit.
Step 7: Turn bays into shelving run lengths
Once you know how many bays you need, you can plan how they fit into the space.
Run length = number of bays in the run × bay width, plus the uprights and end clearances
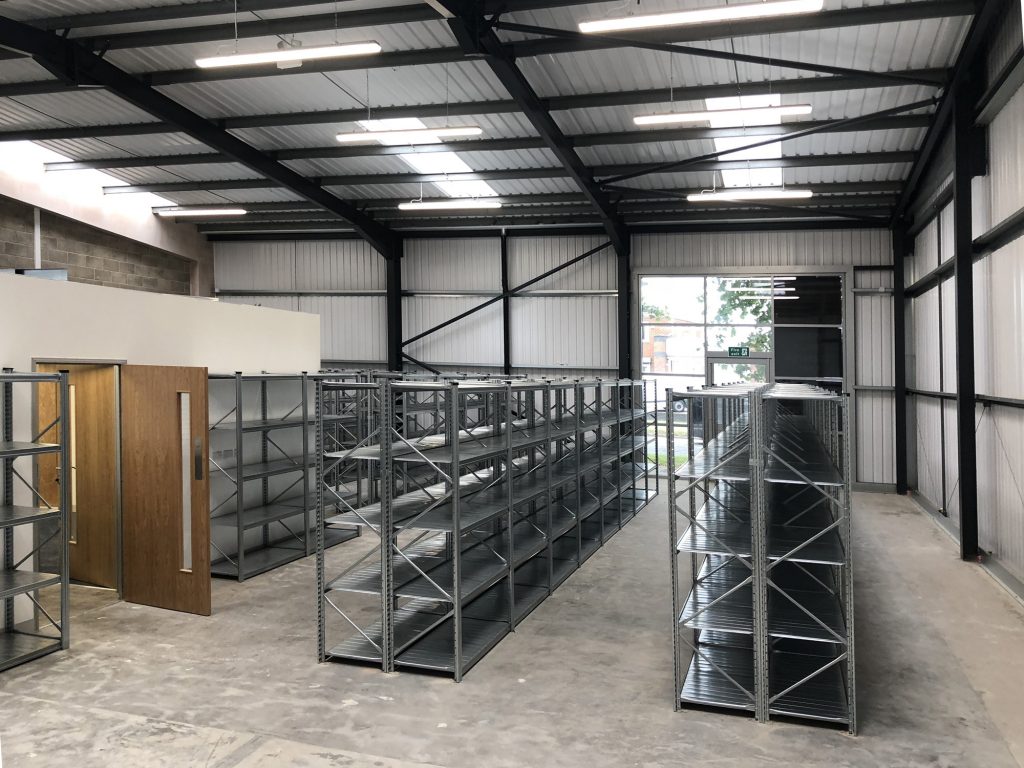
Uprights add a little to the length of every run, so use the dimensions from the system specification rather than just multiplying bay widths together. Leave clearance at each end of a run for walls, pipes, doors and fire exits, and make sure nothing blocks access to fire points or electrical panels.
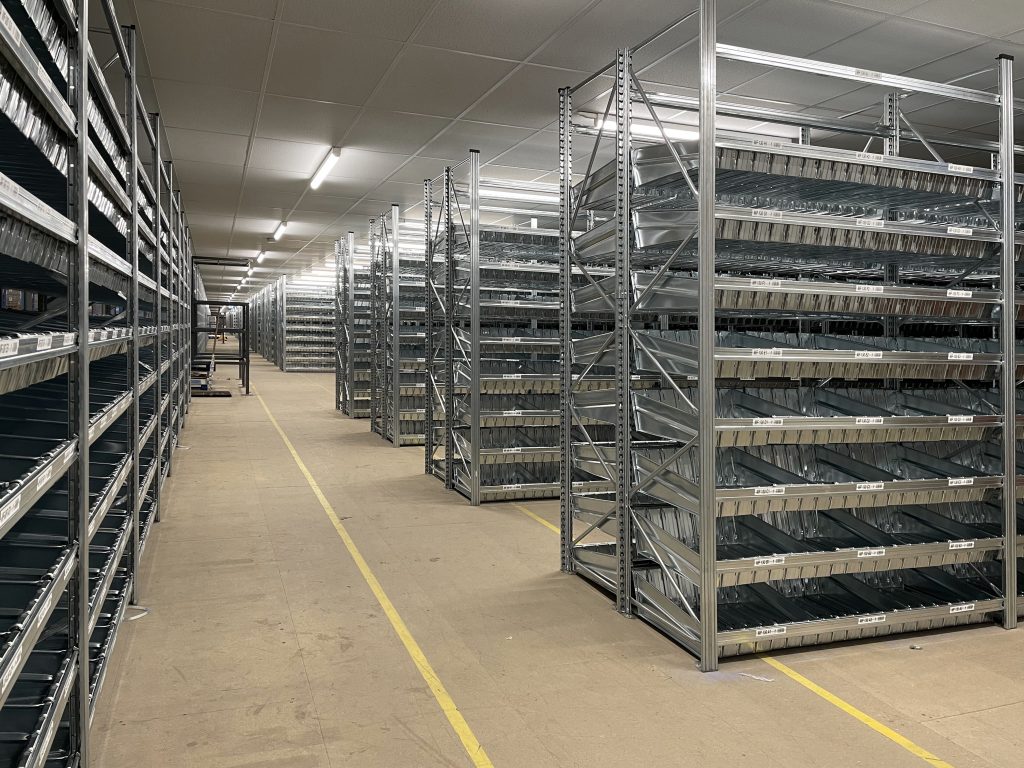
Bays can be arranged in single-sided runs against walls or in back-to-back runs with an aisle on each side. Back-to-back runs usually make better use of floor space, because two faces of shelving share one set of aisles. Very long runs slow picking down, because people have to walk to the end to reach the next aisle, so it is worth breaking them up with cross aisles.
If aisle space is limiting how many runs you can fit, mobile shelving removes most of the fixed aisles by moving runs on tracks, which can significantly increase the storage in the same room.
A worked example
Here is how the method works for a stores area with two stock families.
The first family is small parts: 600 SKUs, each held in its own bin measuring 350mm deep, 210mm wide and 200mm high, weighing up to 15kg when full. A 400mm shelf depth fits the bins well. Adding 75mm of clearance to the 200mm bin height gives 275mm, which rounds up to a 300mm level spacing. On a 2,000mm frame that allows six levels. A 1,200mm bay fits five bins per level (1,200 ÷ 220 = 5.45, rounded down), giving 30 locations per bay. That means 600 ÷ 30 = 20 bays. The shelf load is 5 bins × 15kg = 75kg per level, comfortably within the rating.
The second family is cartons: 540 cartons at peak, each 600mm deep, 400mm wide and 300mm high, weighing up to 25kg. A 600mm shelf depth matches the cartons. With 100mm of clearance for lifting heavier boxes, the level spacing is 400mm. On a 2,000mm frame that would allow five levels, but lifting 25kg cartons from above shoulder height is best avoided, so this family is limited to four levels. An 1,800mm bay fits four cartons per level with room to handle them, giving 16 locations per bay. That means 540 ÷ 16 = 33.75, rounded up to 34 bays. Each level carries 4 × 25kg = 100kg, which needs checking against the shelf rating for an 1,800mm beam before the design is fixed.
Before growth, that is 54 bays in total. The small parts bays could be laid out as a back-to-back run of ten bays on each side, around 12 metres long plus uprights. The carton bays might become four runs of eight or nine bays, each around 15 to 16 metres long, depending on the shape of the space.
How much spare capacity should you build in?
A stores area that is 100% full on the day it opens is already too small. You need spare capacity for two reasons.
The first is working space. Even with good stock control, some locations will always be partly empty while stock is being replenished, and new lines need somewhere to go before old ones are cleared. Shelving that is regularly more than about 85% full becomes hard to manage, and stock starts to end up in the wrong place.
The second is growth. If the business is expanding, adding product lines or holding more stock, the shelving needs to keep up. For most operations, adding 15% to 25% to the calculated number of bays covers both working space and a sensible amount of growth. If you know growth will be faster, plan for it now.
In the worked example, a 20% allowance takes the small parts from 20 bays to 24, and the cartons from 34 bays to 41, for a total of 65 bays rather than 54.
It also helps to plan where future bays will go, even if you do not buy them yet. Leaving a clear area at the end of a run, or choosing a layout that can be extended, makes adding bays later quick and cheap. Unirack’s modular design is built for this, so extra bays, levels or even a second tier can be added without replacing what is already there.
Common sizing mistakes
The most common mistake is sizing to the room rather than the stock. It produces shelving that fills the space but not the need, often with the wrong depth and level spacing.
The second is using average stock levels instead of peak. Shelving that works in a quiet month and overflows in a busy one is undersized.
The third is ignoring weight until the end. A layout that fits perfectly on paper can fail once the shelf load is checked, so run the weight numbers as you choose each bay width.
The last is forgetting how the stock is picked. The fastest-moving lines should sit at the most accessible heights and closest to despatch, which may change how many bays each family needs in each position. Our guide on how to improve warehouse efficiency covers slotting and layout in more detail.
Getting your shelving sized properly
Working out how much shelving you need is not complicated, but it does need to start with your stock rather than your walls. Build a stock profile, set the depth and level spacing for each family, choose the bay width that fits the units and the load, then count the bays and add capacity for growth.
If you would rather have it done for you, we can size and design your warehouse shelving from your stock profile, then supply and install it. You can see examples of completed projects in our work, or get a free quote and send us your stock details to get started.